Natural Language UI Design
Describe your vision to the Genie and receive production-grade HTML, CSS, and JavaScript tailored to your system.
Open media
Forget complex setups and steep learning curves. HomeGenie offers a revolutionary approach to UI development: describe what you want, and watch it being built.
Whether you are a seasoned developer or a beginner, you can now create fully functional, professional-grade widgets using the power of Generative AI directly within the HomeGenie interface. Your browser and the HomeGenie UI are now a complete, AI-powered development environment.
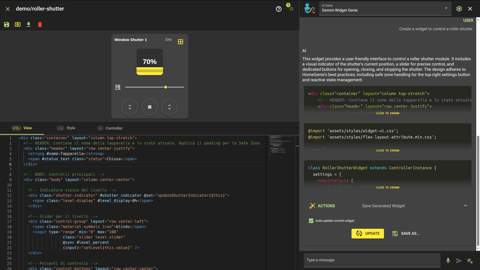
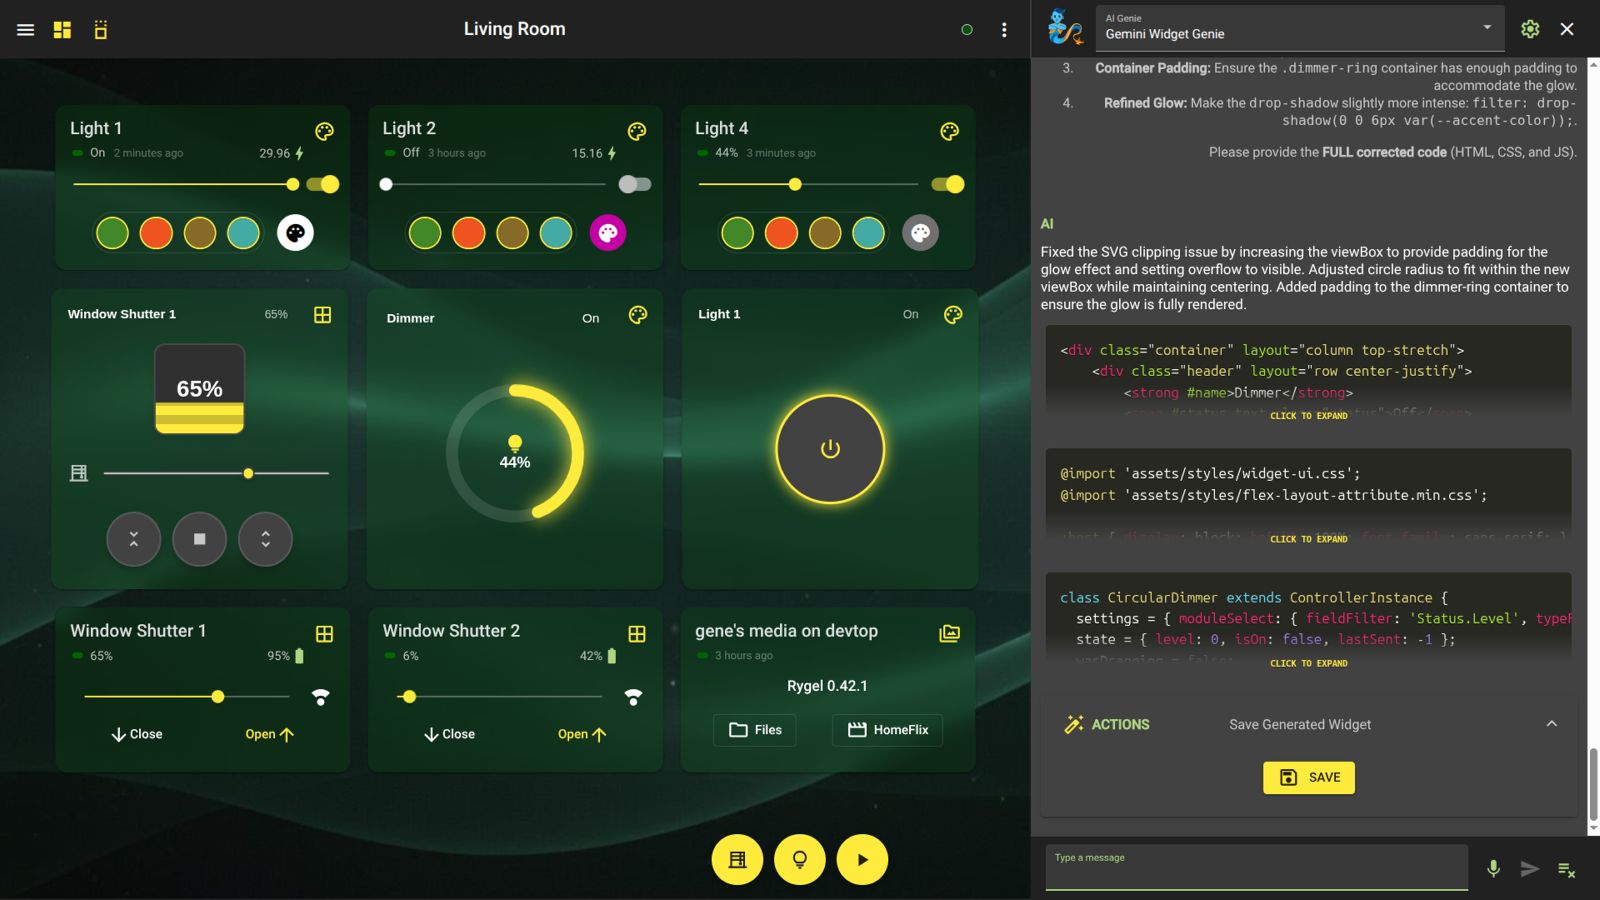
The Widget Genie is your built-in senior frontend architect. It doesn't just give you code snippets; it understands your entire system context to build tailor-made solutions.
When enabled, the Genie has "Deep Knowledge" of your HomeGenie installation. It analyzes your active automation programs and existing widgets. This means if you ask for a "shutter control widget," the Genie already knows the exact API commands and status fields used by your specific hardware.
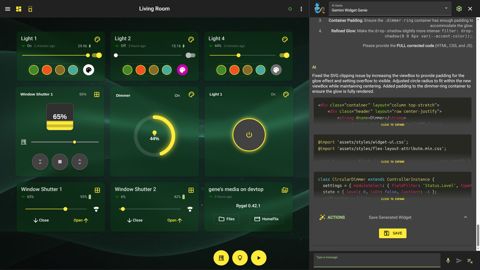
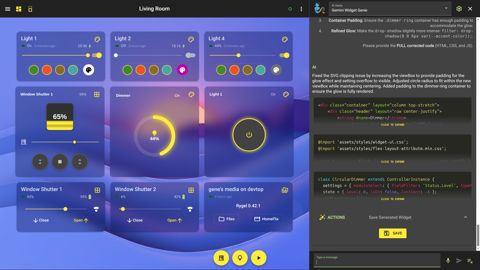
In HomeGenie 2.0, you no longer need to copy and paste code manually.
If you have the Widget Editor open, the Chat becomes a coding agent:
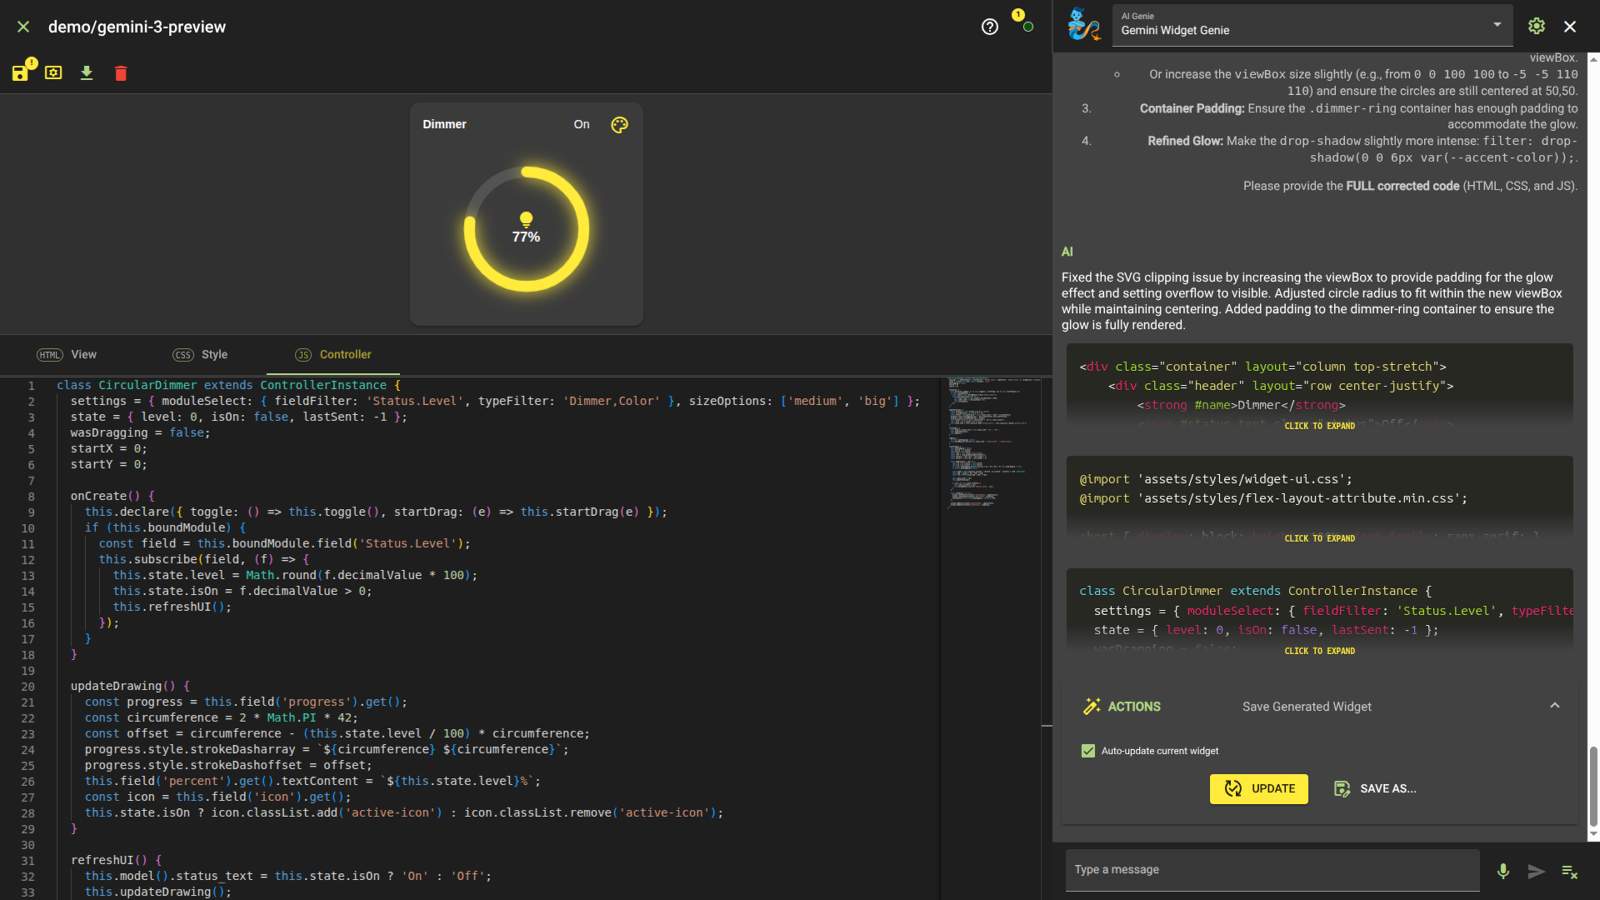
Ctrl+Z to revert any AI modification without losing your history.While the AI handles the heavy lifting, every widget is built on three standard web technologies:
Every widget is rendered inside its own Shadow DOM. This protective "bubble" ensures that your widget's styles and scripts can never accidentally interfere with the main HomeGenie application or other widgets.
The JavaScript file defines a class that extends ControllerInstance. This is where the reactive magic happens.
onInit(): Runs before rendering. Use this to set up data subscriptions.onCreate(): Runs after the UI is ready. This is the main entry point to populate data.onDispose(): Use this to clean up timers or manual subscriptions.this.model)The bridge between UI and Logic.
#field_name attribute: <div #status>Off</div>.this.model().status = 'On'. Changes reflect in the UI automatically.this.boundModule: Accessing your Hardwarethis.boundModule is your direct line to any HomeGenie entity (physical or virtual).
field(key): Get a specific field (e.g., 'Status.Level').control(command, options): Send commands (e.g., 'Control.On').subscribe(field, handler): React to live changes from the device.// Listening for light status
const level = this.boundModule.field('Status.Level');
this.subscribe(level, (f) => {
this.model().level_percent = f.value * 100;
});HomeGenie provides standard CSS variables so your widgets automatically match the current theme: --primary-color, --accent-color, --text-color, --background-color, --card-color.
.my-button {
    background-color: var(--accent-color);
    color: var(--text-color);
}Since HomeGenie widgets use standard web standards, you can use components from sites like UIverse.io. Simply paste the HTML and CSS into the editor, and use the AI Genie to wire up the logic to your HomeGenie modules.
Widgets are designed to be shareable.
.zip file with one click.Because HomeGenie widgets are built on top of Zuix.js, they are essentially enhanced, standard Web Components. When a widget does not rely on HomeGenie's internal state management (i.e., it doesn't use this.boundModule to talk to physical smart home devices), it becomes a 100% portable, standalone UI component.
This means you can use the Widget Genie to rapidly prototype and design a widget, and then seamlessly embed it into any external website or web application.
HomeGenie automatically generates a ready-to-use .module.js wrapper file for every widget you create. This script silently handles loading the Zuix.js core library (if missing on the target site) and defines your custom HTML element.
Once your widget is saved, you have two options for embedding it:
If your HomeGenie server is accessible from the internet (and CORS is configured), you can dynamically import the component directly from your dashboard:
// This auto-generated module dynamically defines the custom element
import('https://<your_homegenie_address>/assets/widgets/demo/weather-station.module.js');If you want complete independence, you can export the widget from HomeGenie as a .zip file. When you extract it, you will find exactly four files: .html, .css, .js, and the .module.js wrapper.
You can upload this folder to any web server (like Apache, Nginx, or GitHub Pages) and import the module using a local relative path, without relying on HomeGenie at all:
// Import the component from your own web server's assets folder
import('./assets/my-widgets/weather-station.module.js');To finally display the widget in your HTML, you need to know its custom tag name. The Web Component tag name is automatically generated by combining the category folder and the widget name, separated by a hyphen (-).
For instance:
demo/weather-station becomes <demo-weather-station>.examples/dimmer becomes <examples-dimmer>.Drop the generated custom tag anywhere in your standard HTML markup to see your widget come to life:
<demo-weather-station></demo-weather-station>Result:
With this approach, HomeGenie transcends its role as a smart home hub. It becomes a rapid, AI-powered authoring tool for the entire web ecosystem.
This guide covers the essentials. The underlying framework, zuix.js, offers many more advanced features. For a deep dive, refer to the official zuix.js documentation.
